FreeBSD setup on a Hetzner VPS
31 Dec 2012I recently wanted to explore settings up FreeBSD 9.0 on my Hetzner VPS. At first reading the documentation was a little bit confusing - but the process turned out to be super simple in the end. I documented my steps here for posterity.
To get started: Log into the Hetzner admin panel and click on the "Servers" link on the left hand side. Select the specific server you want to install FreeBSD on, then click on the "Rescue" tab. I recommend reading through the Hetzner wiki for more information and the section on the FreeBSD Rescue System in particular since that is directly applicable.
Select the operating system ("FreeBSD") and architecture ("64bit") and then click on "Activate rescue system". The next screen will let you know the rescue system has been booted and you'll be provided a password. Note it down (or copy to clipboard) as you'll need it to login to the rescue system.
Now you'll need to reboot the VPS instance if it is already running -- login to your box and run "reboot" or reboot it from the hetzner console.
A couple of seconds after the reboot ssh to your VPS using the root user and password you noted down above. If the login was sucessful you'll see a FreeBSD banner with some additional information.
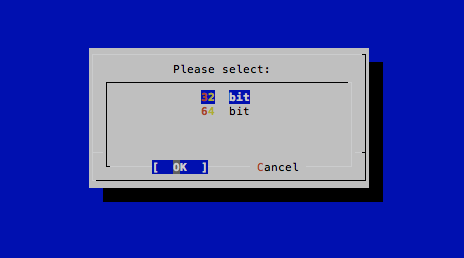
Now run the installimage utility to start the process of permanently installing FreeBSD on your VPS. The first thing you will be shown is a prompt asking you to select the version of FreeBSD you wish to install (like below) -- you'll most likely want to select the most recent version unless you have a specific reason to do otherwise.

Next you'll be asked to confirm the architecture. I recommend you select 64bit unless you have a specific reason to do otherwise.
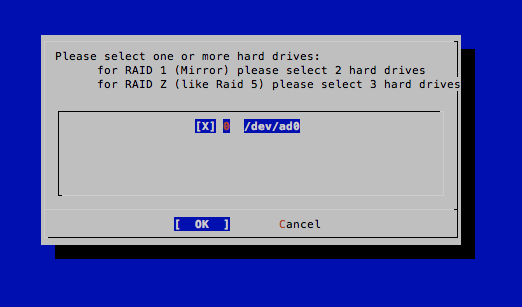
Next you'll be prompted to select the disk. My instance only had one -- /dev/ad0 -- which made the choice pretty simple.
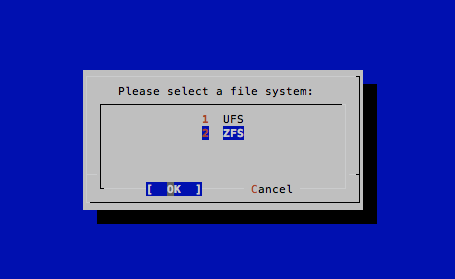
Next you'll be asked to select the filesystem used. Both are probably fine, but I selected ZFS
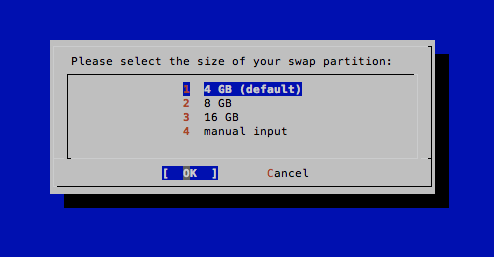
Next you'll be prompted to setup swap space -- I left the default selection of 4gb
Next you'll be asked to enter a hostname.

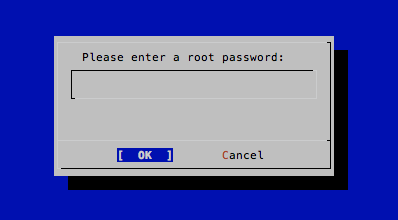
Next you'll be prompted for a root password (you'll need to confirm it )
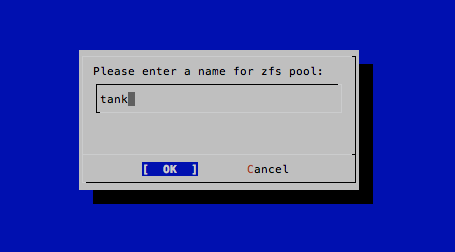
Next if you selected ZFS as the filesystem you'll be asked to name the pool
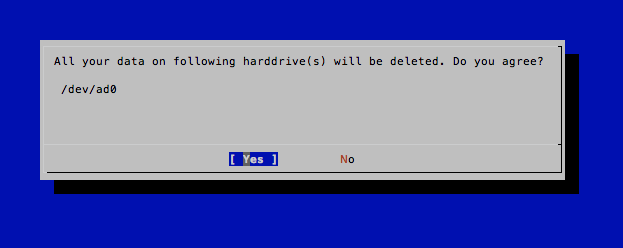
Finally you'll be asked one last time to confirm installing to the disk you initially selected
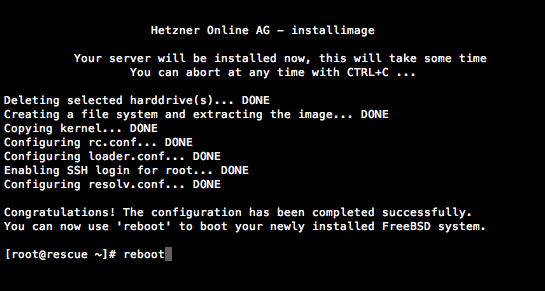
installimage will then start the installation and show progress for certain milestones. Once the installation is done you will be instructed to reboot the system.
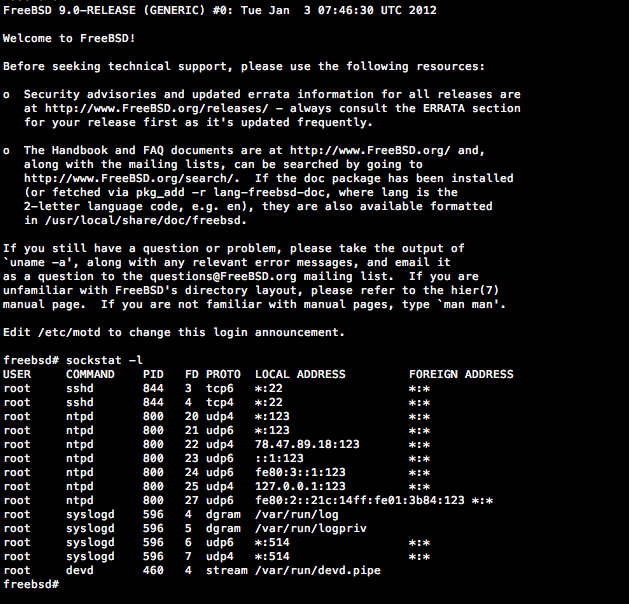
SSH back to your VPS as root using the password you juset setup. Out of habit I ran sockstat -l to see what services were running
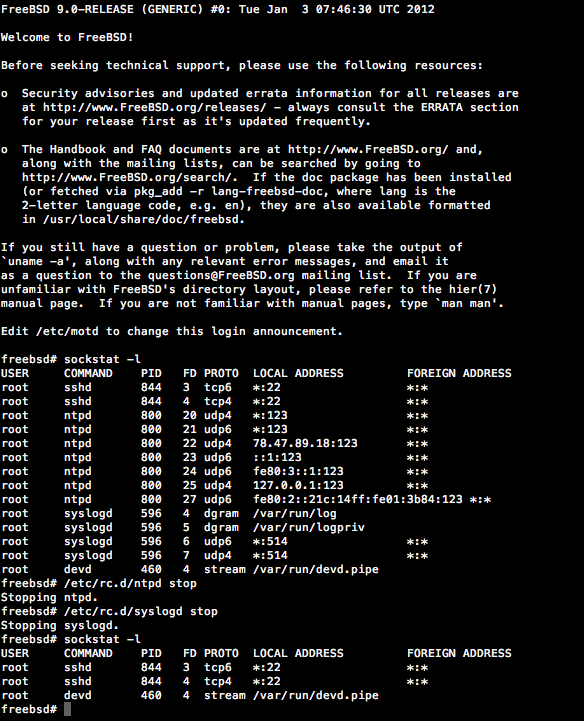
I decided to stop sendmail and ntpd(server) until I configured a firewall. To temporarily stop a FreeBSD service, such as ntpd, run /etc/rc.d/ntpd stop. If you want to permanently disable a service you'll need to edit /etc/rc.conf and set <service>_enable="NO" where service is something like ntpd or sendmail. Note whatever you have in <service> will be the name of the init script under /etc/rc.d. There is a ton of documentation on the FreeBSD.org site if you're interested in learning more about the FreeBSD init system. After shutting everything down except ssh sockstat should look like this:
Congratulations - you have a functioning FreeBSD VPS! At this point I noticed that the system didn't have the ports tree installed so I ran "portsnap fetch extract" which took about 3 minutes. Note: If you're new to FreeBSD the ports system is similar to apt-get or yum on linux distributions.
I prefer bash to csh (which is the default shell in FreeBSD) so I installed it via ports: cd /usr/ports/shells/bash and then simply make install clean. After that is done is usually when I setup a non-root user for everyday use. To do that run: adduser and follow the prompts. If you are new to FreeBSD you'll want to know to add your account to the wheel group when prompted for "other groups" so that you can su root. Also remember to set your shell to bash (or whatever you installed) when prompted. Note: if you had already setup a user before installing bash (or your shell-of-choice) you can run chsh <username> and point your shell to /usr/local/bin/bash.
That's it. Happy hacking!