VMWare running native XP on SATA disk, part 2
18 Nov 2007Last week I started writing the introductory article: "VMWare running native XP on SATA disk" -- I promised to have the follow up the next day. It has been more than week. What can I say, busy week at work.
We left of having configuring the Windows side of the equation, having set up a separate hardware profile and installed the VMware SCSI drivers. All we have left to do is create a virtual machine that reads the already installed Windows XP, which is for the most part a simple process. There is are a few places that can be time sinks, so I've included screen shots and a step-by-step walk through to save you time.
I will not cover installing VMware workstation or server, has how you choose to do so depends on your system and what you want. I'll leave that up to you.
To begin, make sure the user that will be running vmware is in the "disk" group (on my Ubuntu system) -- which allows the user access to the raw disk.
I am using VMware workstation so these screen shots are geared towards that, but are mostly relevant to VMware server.
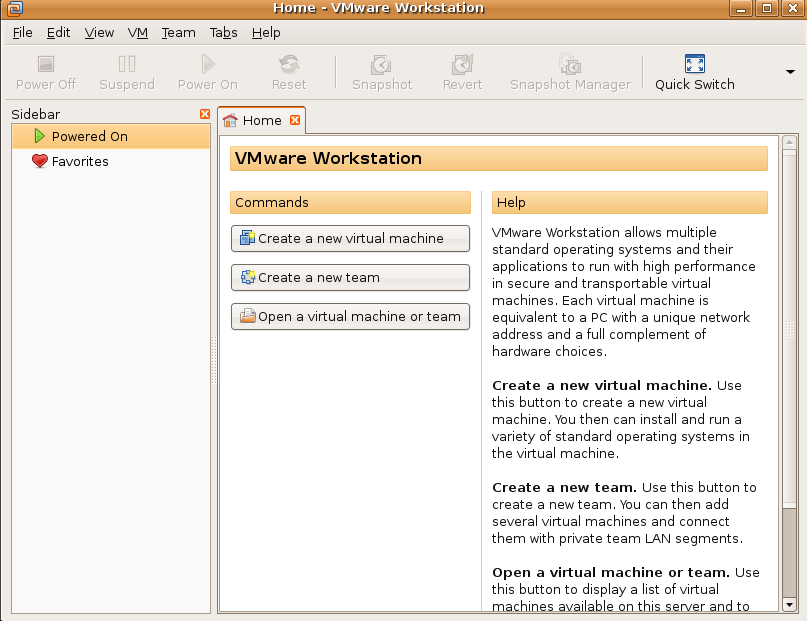
1) Fire up VMware -- you should see something like the Screen Shot Below -- A standard VMWare splash screen
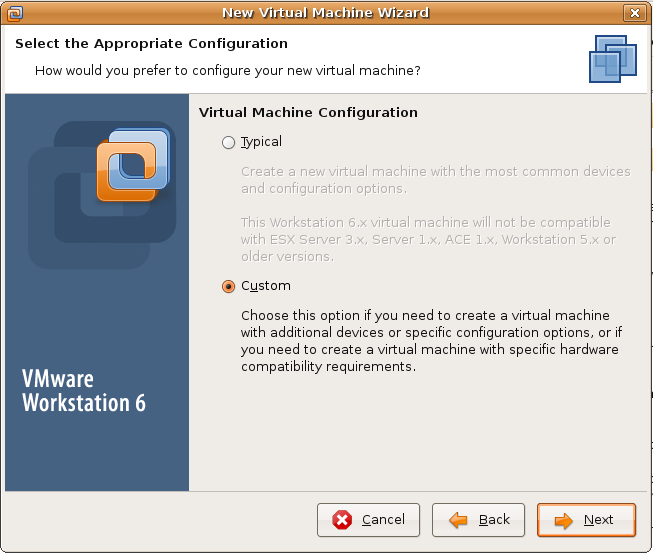
2) Start the process of creating a new virtual machine, either by going to File->New or right clicking inside the inventory pane (the far left pane). The key thing here is to select a "Custom" virtual machine, instead of the "Typical" virtual machine.
3) The Guest operating system to select is obviously Windows XP -- I have not tried this out with Vista yet, but it should probably work.
4) Give your new Virtual Machine a name and configure where the configuration files will be stored on disk.
5) Select the number of processors you want to allocate to this virtual machine.
6) Configure the amount of RAM you want allocated to this virtual machine.
7) Configure the networking, I selected "bridged networking" which means the virtual machine gets its own IP, instead of using the Hosts via NAT.
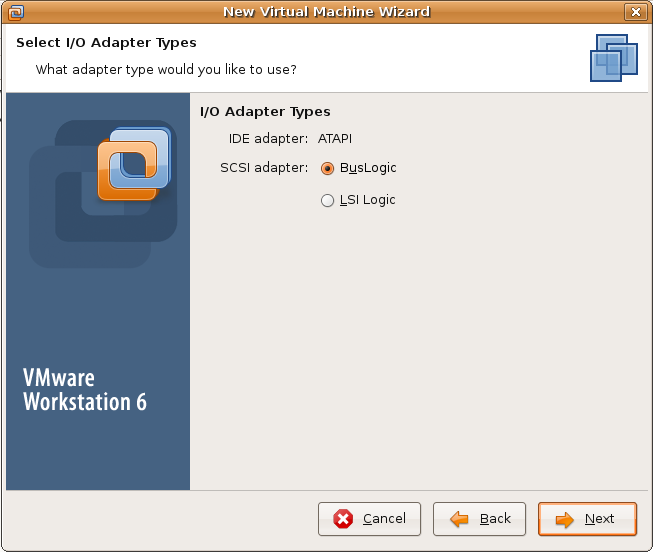
8 ) Select the I/O Adapter type -- this is critical, make sure to select the "Buslogic" option, which should be selected by default.
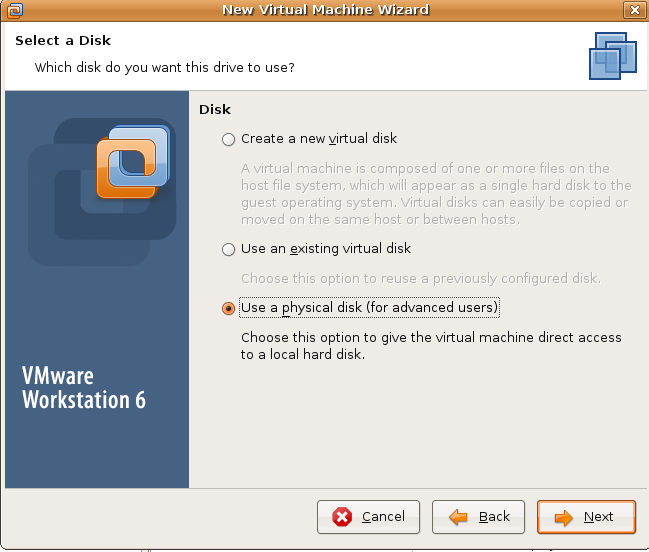
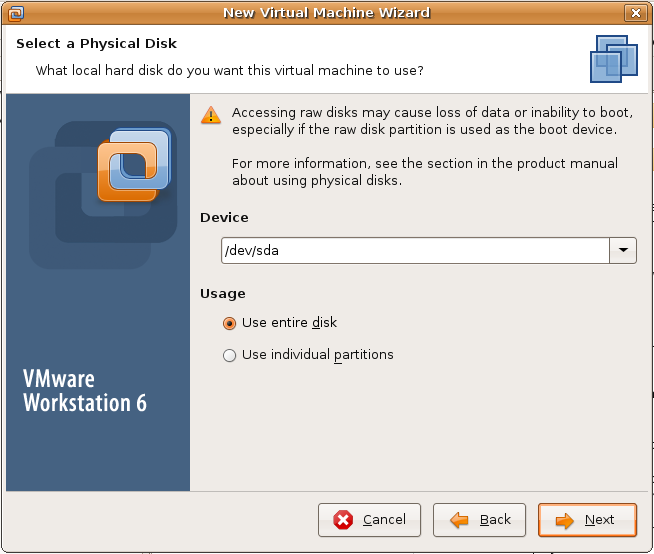
9) Next you will be prompted to "Select a Disk" -- you obviously want to choose "Use a physical disk" (this is the premise of this article after all?)
10) You will then be prompted to configure which physical disk you want to use. I used /dev/sda, and that should be enough for you, the only time this becomes a problem is when you have your linux boot partition on another disk, but GRUB installed on the MBR of the first disk. In that case after the wizard is complete, simply had a second physical device to the virtual machine and you should be set.
11) Finish!
Have fun with your new Windows partition running under linux. This setup has allowed me the flexibility of booting into my favorite operating system most of the time, and only requiring a reboot when I need to use "Hardware Intensive" applications (Read: games).
Cheers!